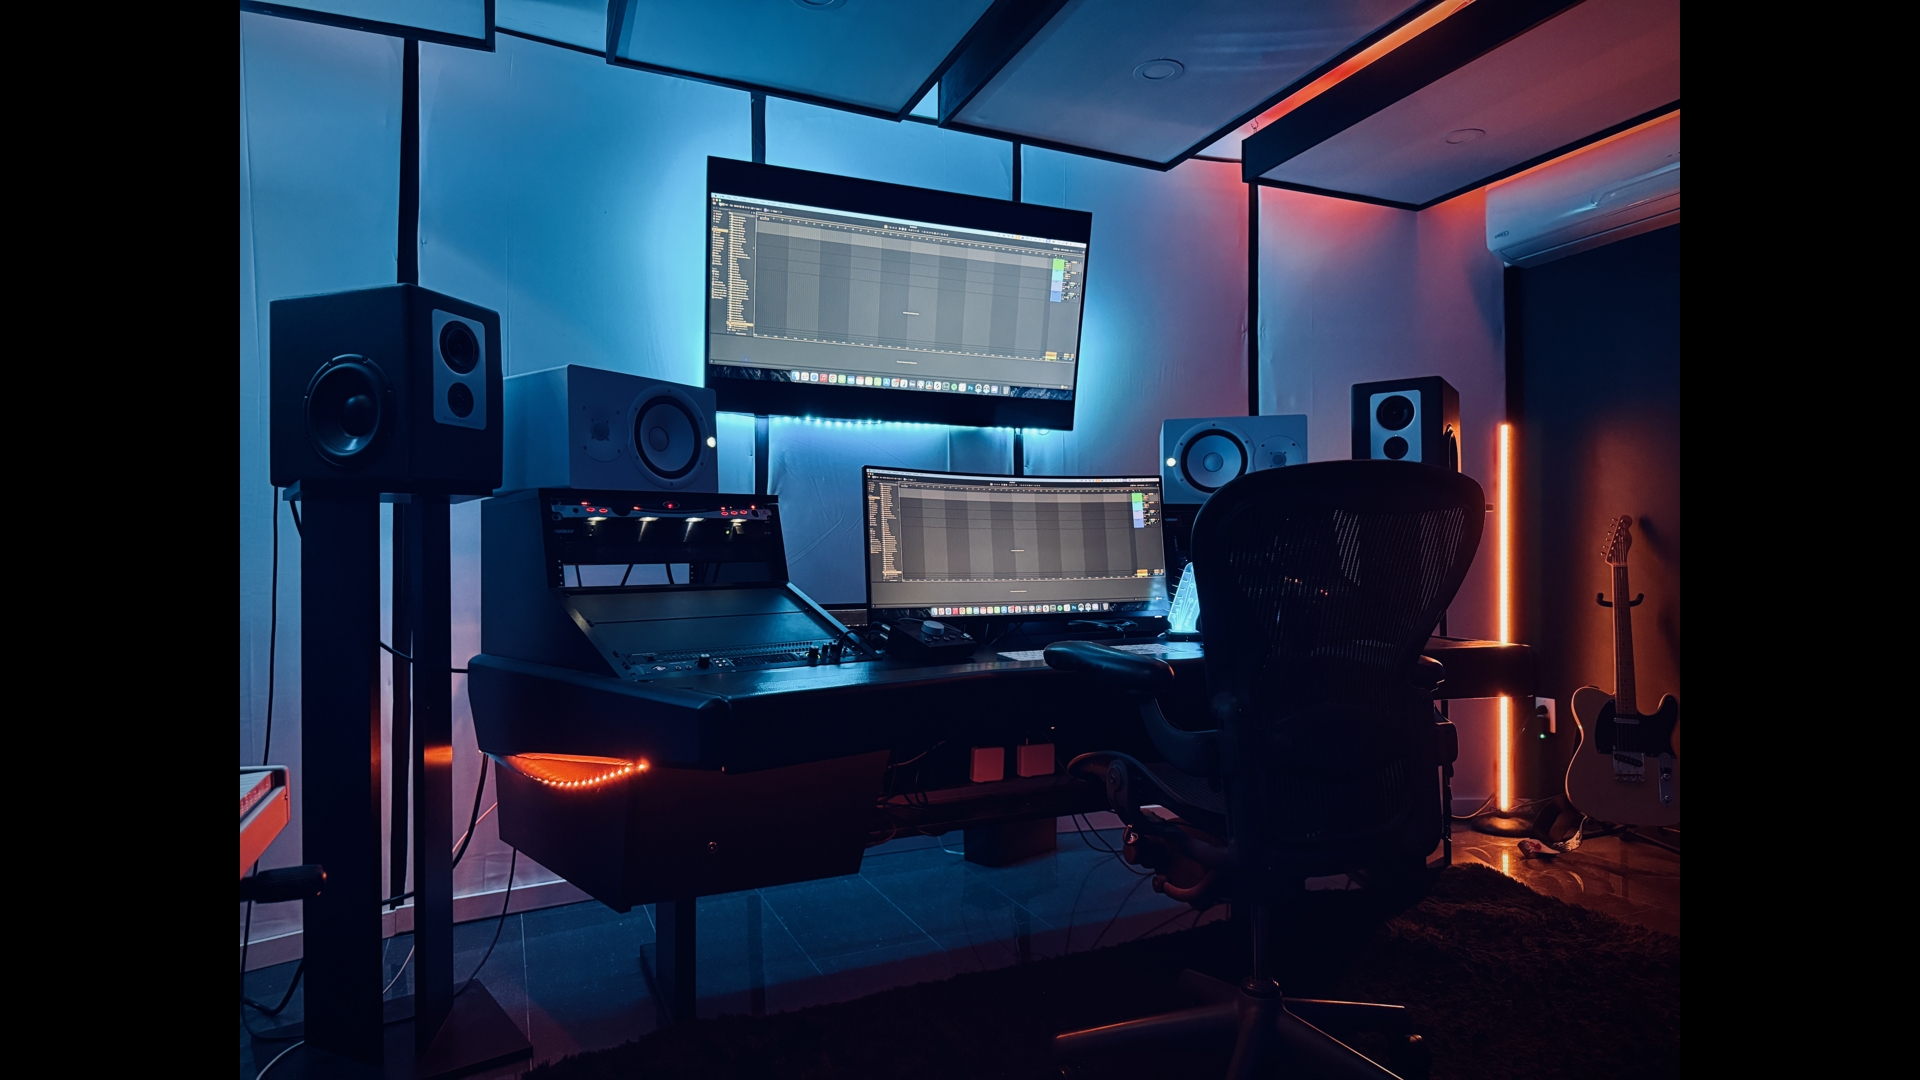
A great vocal mix isn't one magic plugin — it's a chain of small, deliberate moves that stack up. This is the exact chain I run on vocals at AZ Music Studios, in order, with the reasoning behind each stage. Copy it, tweak it, or steal the parts that make sense for your track.
The chain at a glance
Screenshot placeholder #1
Your full vocal channel strip — replace with an actual screenshot when ready
Step 1 — Tuning: Melodyne + Auto-Tune
First I correct the pitch note-by-note in Melodyne — it's transparent and surgical, so the vocal stays natural. Then I layer Auto-Tune for taste on top: not to fix anything, but to add that modern sheen and character. Correction first, flavor second.
Screenshot placeholder #2
Melodyne note editing — replace with an actual screenshot when ready
Step 2 — Clean it up: subtractive EQ (FabFilter Pro-Q 4)
Before adding anything, I take problems away. High-pass the rumble, notch out any harsh resonances, and tame the mud (usually somewhere around 200–400 Hz). This is reductive EQ — surgical cuts only. Doing it before compression matters: you want the compressor reacting to the vocal, not to problems you haven't fixed yet.
Screenshot placeholder #3
Pro-Q 4 cuts — replace with an actual screenshot when ready
Step 3 — Tame the harshness: de-esser
Sibilance — those harsh "s" and "sh" sounds — only gets worse once you compress and saturate, so I catch it early with a de-esser targeting the sibilance. Tame it now and the rest of the chain stays smooth instead of spitting at you.
Step 4 — Color and control: the compression stage
This is where the vocal gets its attitude and its consistency. I stack three units, each doing a little:
- Fairchild as a preamp/tone stage — a touch of vintage harmonic warmth up front.
- UAD 1176 — a fast FET compressor pulling around 3 dB of gain reduction. This grabs the transients and gives the vocal its forwardness and attitude.
- UAD Teletronix LA-2A on the limit setting — a smooth optical leveler that glues everything together and keeps the vocal sitting evenly in the mix.
The trick is serial compression: each unit only does a few dB, so nothing sounds squashed — but together, the vocal is rock-steady.
Screenshot placeholder #4
1176 + LA-2A settings — replace with an actual screenshot when ready
Step 5 — Tone: additive EQ (Pultec)
Now that it's controlled, I add character. The Pultec is famous for its thick low-end boost and its silky, effortless high-end "air." This is additive EQ — sculpting the vibe, not fixing problems.
Step 6 — Saturation: Spectre → Saturn 2
Harmonics are what make a vocal feel present and "loud" without actually turning it up.
- Spectre adds saturation tied to specific frequencies — great for air and presence up top.
- FabFilter Saturn 2 for light overall saturation — subtle, just enough density and warmth.
Step 7 — Clean up the artifacts: soothe2
Saturation adds harmonics — but it also stirs up harsh resonances and artifacts. Oeksound soothe2 dynamically tames those, so the vocal stays smooth and expensive-sounding. Placing it after the saturation is deliberate: it rounds off exactly what the saturation kicked up.
Step 8 — Space: reverb (Valhalla plate + Seventh Heaven room)
Two reverbs, two jobs — and both live on aux sends, not as inserts:
- Valhalla on a plate setting — classic vocal sheen and sustain.
- LiquidSonics Seventh Heaven for a natural room — puts the vocal in a believable space.
Layering a bright plate with a natural room gives you depth without washing the vocal out.
Step 9 — Depth and width: delay (H-Delay)
- Waves H-Delay at 1/8 note — rhythmic throws that add depth and movement, especially on the ends of phrases.
- H-Delay at 1/16 as a slap delay — super short, thickens and widens the vocal without an obvious echo.
Why the order matters
Correct → clean → control → color → saturate → smooth → space. Each stage sets up the next: you clean before you compress so the compressor isn't chasing problems; you saturate before soothe so soothe can tidy the artifacts; reverb and delay go last, on sends, so they sit around the finished vocal instead of inside the processing.
A couple of last things: keep your gain staging sane between plugins so nothing clips into the next stage, and remember this is my starting point, not a rule — every vocal is different, so trust your ears.
Want this exact chain?
GET THE TEMPLATE
I'm building this into a ready-to-load preset so you can drop the whole chain onto your own vocals in one click. Join the mailing list and you'll get it the day it's out. Or if you'd rather I just mix your vocal with this chain, book a session.